
How Can You Master the Art of Roof Shingle Replacement Like a Pro?
Roof shingle replacement is a critical home maintenance task. A well-installed roof not only enhances the aesthetics of a home but also protects it from the elements. Mastering this art requires understanding the materials, techniques, and best practices involved in the process.
Understanding Your Roofing Material
Choosing the right roofing material should be the first step. Common types of shingles include asphalt, wood, metal, and slate. Each type has its own set of characteristics.
Asphalt Shingles
These are the most popular choice due to their affordability and ease of installation. They come in a variety of colors and styles. Additionally, asphalt shingles are relatively lightweight.
Wood Shingles
Wood shingles offer a distinct aesthetic appeal. However, they require more maintenance and are less resistant to fire compared to asphalt. Suitable for areas with mild climates, wood shingles may not be the best choice for high-moisture environments.
Metal Shingles
Metal roofing is increasingly popular due to its durability and energy efficiency. It is generally more expensive but can last up to 50 years. Metal roofing is also resistant to wind and fire.
Slate Shingles
Slate offers a timeless elegance, but it comes with a heftier price tag. Its longevity is unmatched, but it requires specialized installation techniques. Those with sloped roofing systems often choose slate due to its weight.
Tools and Materials Needed
Preparation is key to a successful roof shingle replacement. Here’s a checklist of essential tools and materials you will need for the job.
Tools
- Sturdy Ladder: Ensure it extends at least three feet above the roofline.
- Roofing Nail Gun: A pneumatic nail gun speeds up the installation process.
- Utility Knife: Necessary for trimming shingles accurately.
- Hammer: For manual nailing if required.
- Chalk Line: Used to mark straight lines for shingle alignment.
- Safety Gear: Include gloves, goggles, and a hard hat for protection.
Materials
- Roof Shingles: Select the material best suited for your climate.
- Underlayment: This acts as a moisture barrier.
- Nails: Use corrosion-resistant nails to secure shingles in place.
- Flashing: Essential for preventing water infiltration around chimneys and other projections.
- Sealants: Use roofing sealants for waterproofing edges.
Pre-Installation Steps
Before you begin replacing shingles, several pre-installation steps are crucial:
Assess the Current Roof Condition
Examine the roof for existing damage, such as cracked or missing shingles. Evaluate if the entire roof needs replacement or just specific sections.
Obtain Necessary Permits
Check your local building codes and obtain any required permits. Compliance with these regulations ensures smooth project completion.
Prepare the Work Area
Clear the work area of debris and ensure adequate safety measures are in place. Use tarps and cover landscaping to protect against falling debris.
Step-by-Step Replacement Guide
Now that you have prepared adequately, it’s time to dive into the actual replacement process.
Remove Old Shingles
Start at the top of the roof and work your way down. Loosen nails with a pry bar and carefully lift off old shingles to prevent damaging the underlayment.
Inspect and Repair Underlayment
Once old shingles are removed, inspect the underlayment for damage. Replace or repair any holes or rot. A solid foundation is critical for the new shingles.
Install New Underlayment
If the existing underlayment is damaged, lay down a new waterproof underlayment. Ensure proper overlap to maximize moisture protection. Seal edges with roofing tape if necessary.
Begin Shingle Installation
Place the first row of shingles at the lower edge of the roof. Ensure there’s an overhang of at least 1-2 inches. Use a chalk line to maintain straightness.
Nail Down the Shingles
Using a roofing nail gun, securely fasten the shingles. Follow the manufacturer’s guidelines for nail placement and quantity.
Create Shingle Overlap
For effective weather resistance, overlap each row of shingles by at least 6 inches. This technique is essential for moisture management.
Install Flashing
Use flashing around chimneys, vents, and any other projections. This step is vital for preventing water intrusion. Apply roof cement around the flashing for added protection.
Final Row and Ridge Cap Installation
Once you reach the top, install a ridge cap to cover exposed edges. This step completes the shingle installation and provides an additional layer of protection.
Post-Installation Tasks
After installing the new shingles, there are several final steps to ensure everything is in place.
Clean Up Debris
Thoroughly clean the area of any leftover shingles and materials. Inspect the surroundings for any fallen debris to avoid hazards or damage.
Inspect the Roof
Conduct a complete inspection. Look for any missed spots or areas requiring touch-up. A visual inspection at this stage is vital to catch any potential issues.
Monitor Performance
After replacement, monitor the roof during severe weather. Look out for leaks and any signs of wear within the first few months to ensure installation integrity.
Common Mistakes to Avoid
Even experienced individuals may overlook critical steps. Here are common mistakes to avoid:
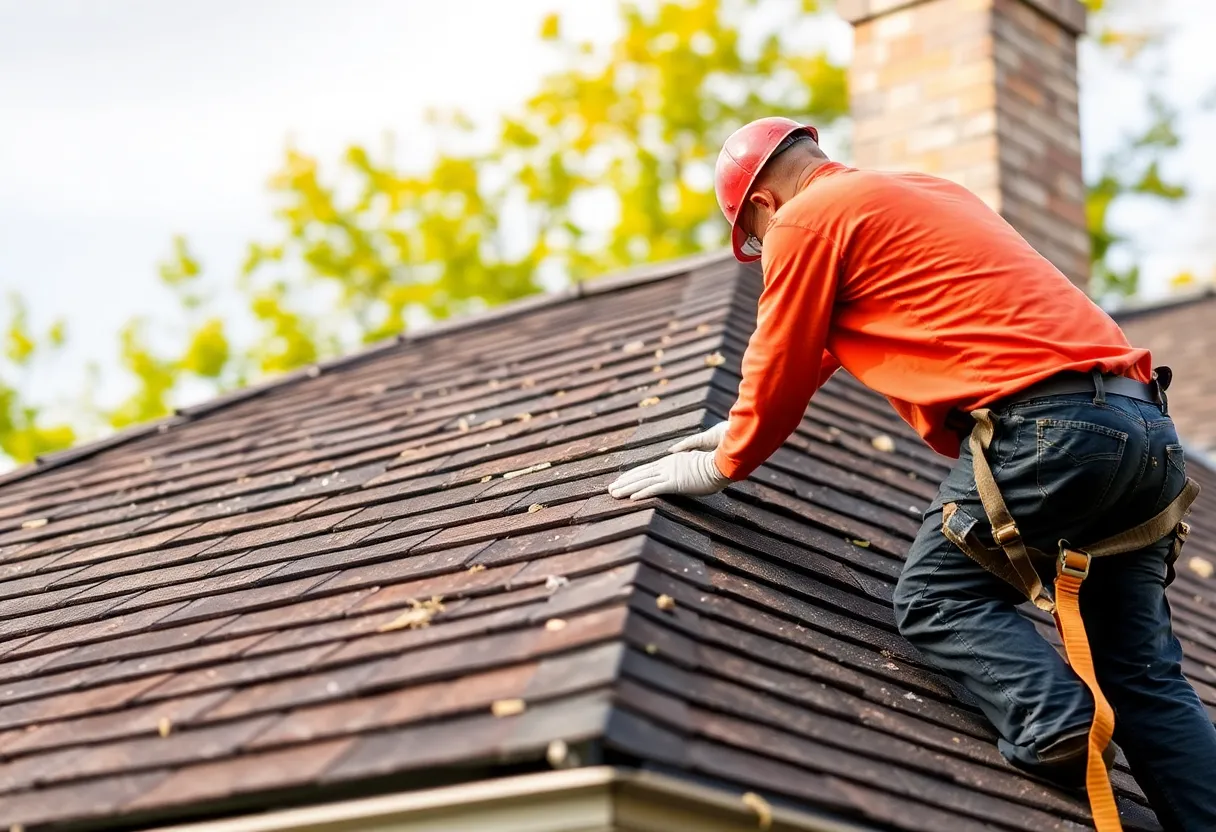
Neglecting Safety Gear
Ignoring safety protocols can lead to serious accidents. Always wear appropriate gear and ensure the ladder is stable before climbing.
Skipping Underlayment Replacement
Focusing solely on shingles may lead to water issues. Always evaluate and replace underlayment when needed.
Improper Shingle Overlap
Inadequate overlap can lead to leaks. Always follow manufacturer guidelines for proper installation techniques.
Using Wrong Nails
Using rust-prone nails can compromise longevity. Stick to corrosion-resistant material for better durability.
When to Seek Professional Help
Although many homeowners tackle shingle replacement on their own, there are instances when hiring a professional may be wise:
Complex Roof Designs
If your roof has multiple slopes or intricate details, professional handling may ensure proper installation.
Structural Issues
If any underlying structural issues exist, professionals are better equipped to handle these complications.
Time Constraints
If time is a significant constraint, hiring a professional can expedite the process effectively.
Conclusion
Mastering the art of roof shingle replacement involves understanding materials, tools, and techniques crucial for success. With careful planning, execution, and monitoring, you can achieve professional-level results. Whether you choose to tackle the project yourself or seek professional assistance, maintaining your roof is essential for the safety and longevity of your home.