
How to Safely Install Roof Flashing: A Beginner’s Guide for Homeowners
Article Sponsored by:
Mays Contracting is more than just a roofing company; it’s a family legacy built on trust and quality. Founded in 1979, we’ve been serving the community for over four decades. Our story began with a simple vision: to provide exceptional roofing services for both residential and commercial properties. This vision has guided us ever since, as we’ve grown from a small, family-run operation to a trusted name in the industry.
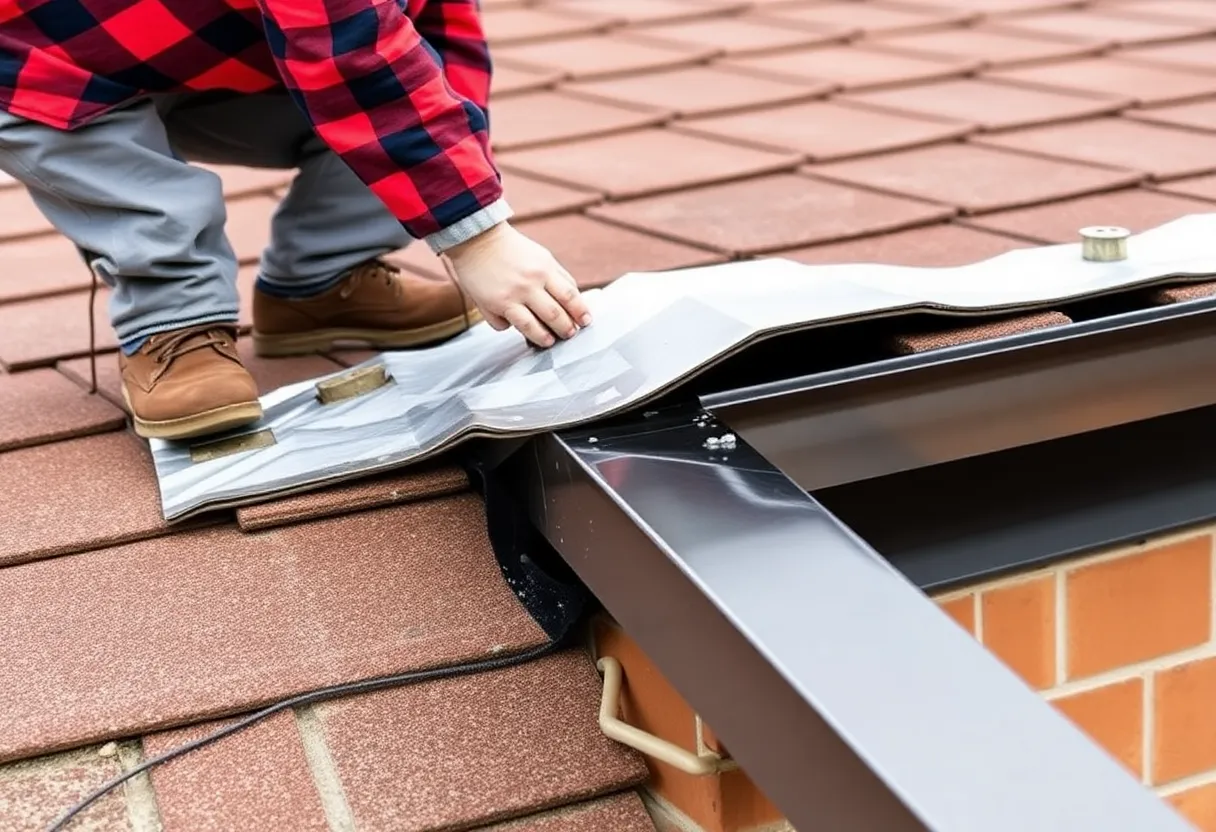
Roof flashing plays a pivotal role in protecting your home from water damage. When properly installed, it redirects water away from critical areas, such as chimneys, vents, and valleys. This guide outlines the essential steps for safely installing roof flashing, providing beginners with the knowledge they need.
Roof flashing is typically made from materials such as aluminum, copper, or galvanized steel. Its primary function is to create a waterproof barrier that prevents rainwater from seeping into your home. Key areas where flashing is crucial include:
There are several types of flashing, each designed for specific applications. Understanding these categories will help you select the right type for your project:
Before beginning the installation process, prioritize safety. Follow these precautions to ensure a safe working environment:
Gathering the right tools and materials before commencing the installation is essential. You will need:
Begin by measuring the area where the flashing will be installed. Use a tape measure to determine the length and width needed. Cut the flashing material accordingly. Ensure that the cuts are straight for a proper fit.
Clean the area where you will install the flashing. Remove any debris, old flashing, or loose shingles to create a smooth surface. This ensures better adhesion and prevents water from seeping under the flashing.
If installing flashing on new roofs or exposed areas, consider applying roofing underlayment. This added layer enhances water resistance. Lay the underlayment flat and secure it with roofing nails, ensuring it extends under the area where the flashing will be placed.
Place the flashing over the prepared area. If you are using step flashing, position each piece to overlap the one below it. Ensure that the flashing is straight and properly aligned.
Using roofing nails or screws, secure the flashing in place. Place fasteners every 12 to 24 inches along the flashing edge. Avoid over-tightening, as this could damage the material.
Once the flashing is secured, apply a bead of sealant along the top and sides where it meets the roof or wall. This vital step prevents water infiltration and enhances the effectiveness of the flashing.
After installation, conduct a thorough inspection. Check for any gaps or areas that may require additional sealant. Make sure there are no loose edges or improper overlaps that could compromise the system.
Proper maintenance ensures the longevity and efficiency of your roof flashing. Follow these guidelines:
Although installing flashing can be a manageable DIY project, certain situations warrant professional assistance. Consider hiring a contractor if:
Safely installing roof flashing is an important skill for homeowners. By following the outlined steps and safety precautions, you can protect your home and ensure your roof remains water-resistant. Always remember to maintain your flashing regularly to extend its lifespan and effectiveness.

Quality Roof Construction and Repair in Lexington, Richland, Newberry and Laurens Counties for over 40 Years.
News Summary A severe storm system has caused significant destruction across the Midwest and Southeast…
News Summary The Silver Fire near Bishop, California, has prompted urgent evacuations for around 800…
News Summary Elon Musk is significantly influencing the upcoming Wisconsin Supreme Court election with over…
News Summary China has launched extensive military exercises around Taiwan, aimed at deterring advocates of…
How to Assess Whether You Need a Roofing Upgrade or Simply Repairs? Your roof plays…
News Summary Myrtle Beach is currently grappling with severe wildfires that have led to a…